Bathroom renovation project
Before you start : Levelling the floor
Why should you level the floor?
In this short video, renovation expert, Mike Holmes, will explain why it is important to make sure that the floor is properly leveled before starting any renovation project.
Project description
This project consists of levelling the floor in order to install a wood flooring and bathroom appliances. As Mike Holmes explained, it is of the utmost importance to have a levelled floor before even thinking about installing a long lasting flooring.
The product we used here is Sika® Level-125CA, a one component, self-levelling cimentitious underlayment, easy to use. Its fast setting properties make it the best choice for all renovation projects.
Materials needed
- A mixing container
- A low-speed electric mixer (300 to 450 rpm) with an Eggbeater style mixing paddle (recommended model)
- Clean water
- Gloves
- Mask
- Level
- Trowel
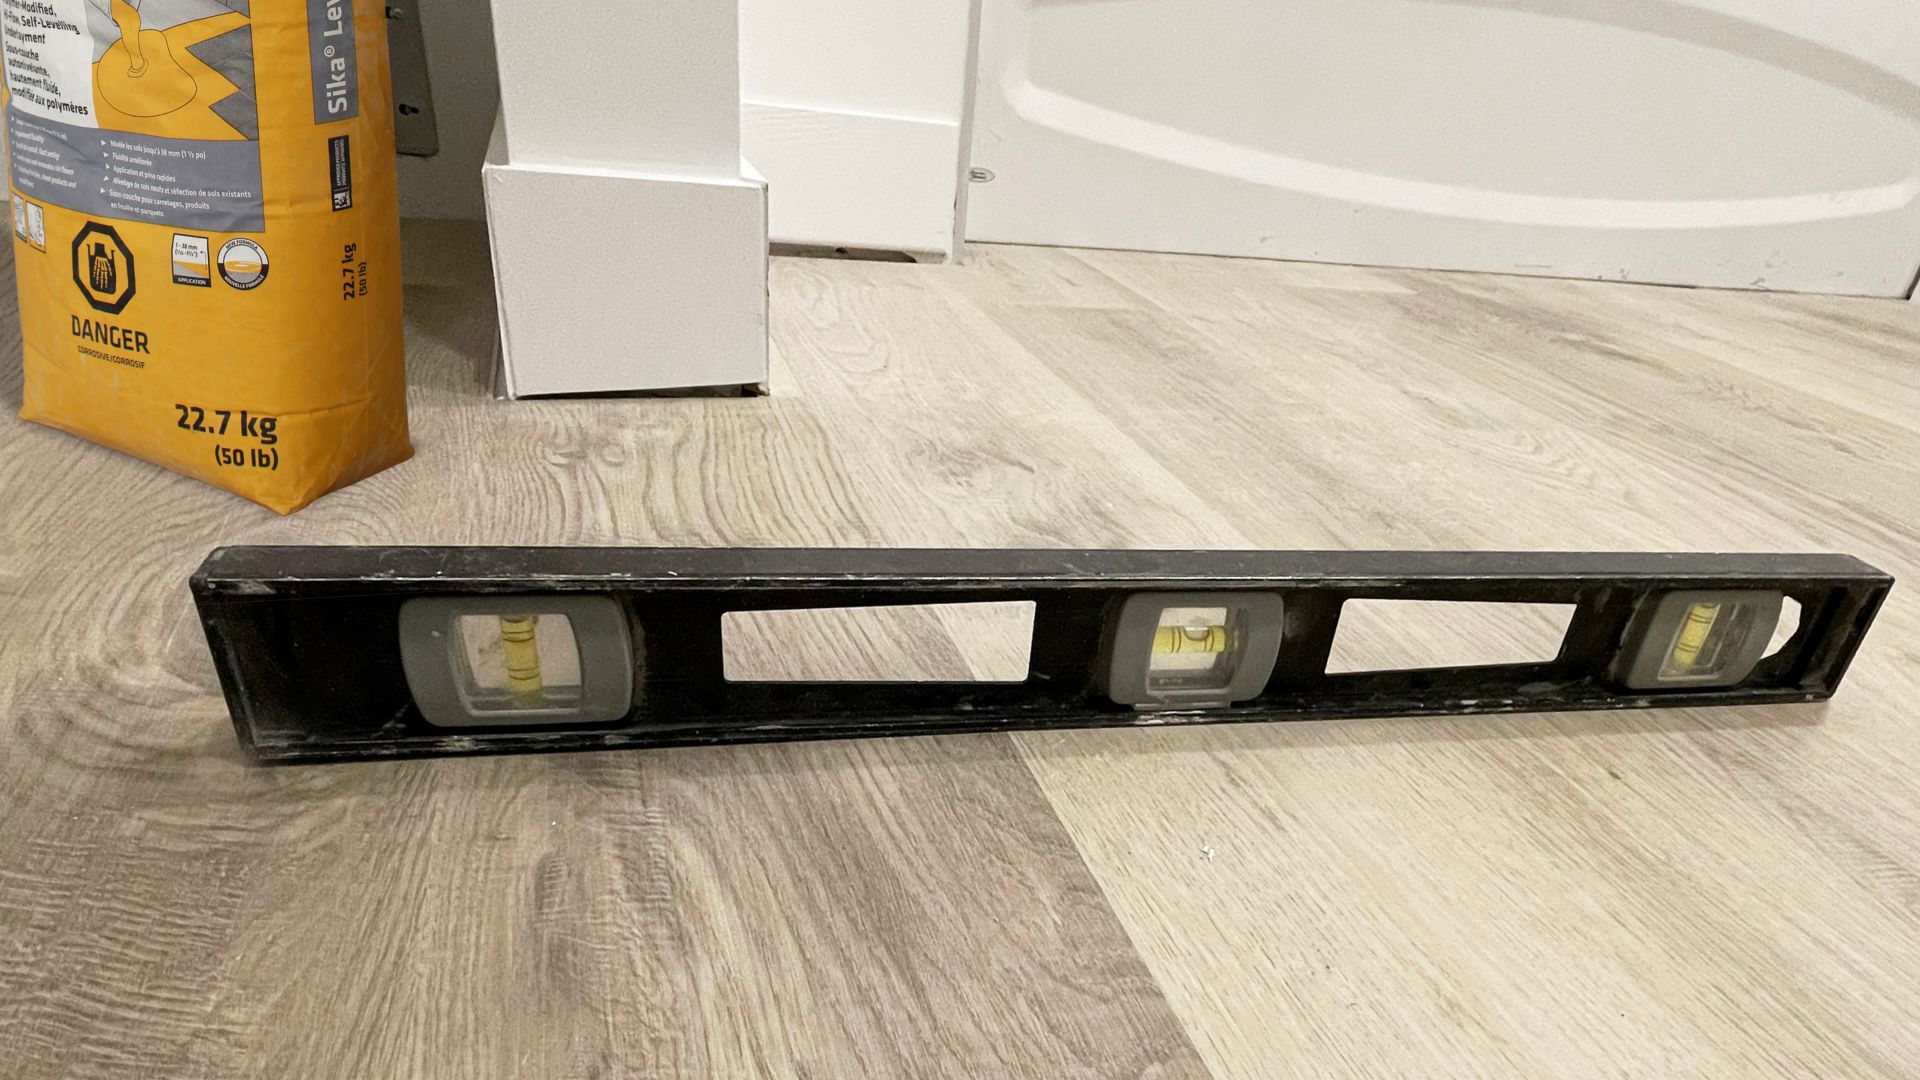
Before you start : Check the level!
While the floor might look levelled, in reality it is not. That is why it is really important to always check your floor level before you install flooring. A floor that is not levelled is more likely to crack in the long run.
Application steps
Remove all existing coatings and contaminants, such as dust, dirt, laitance, grease, oils and other foreign matter that could interfere with the penetration of the Sika® Level-03 Primer CA and the bonding of the Sika® Level-125 CA.
Where installing Sika® Level-125CA underlayment over wooden subfloors, ensure that the subfloor consists of at least two layers of exterior grade plywood (CANPLY compliant), of a minimum of 32 mm (1 1/4 in) in thickness and meets, as a minimum, the deflection parameters of L/360. The wood/plywood must then be suitably secured, bonded and prepared to a clean and sound condition. Refer to the manufacturer of the final floor covering with regard to the deflection requirements of the floor finish system.
Sika® Level-03 Primer application on the right picture
Pour 3.9 to 4.1 L (1.04 to 1.08 US gal) of cool, potable water into a suitably sized and clean mixing container, add Sika® Level-125CA to the water, while slowly stirring, adding the complete content of the 22.7 kg (50 lb) bag. Once all the powder has been added, continue mixing at least three (3) minutes, or until a lump-free and uniform consistency is achieved. Let the mixed material stand until the majority of air bubbles have dispersed.
Quickly and without delay, pour the mixed material onto the primed surface in a ribbon pattern, ensuring that a wet edge is maintained; spread by trowel or pin rake adjusted to the required thickness achieving the necessary coverage over high points.
Sika® Level-125 CA must be allowed to air cure. Do not wet cure or use curing and sealing compounds.
Clean all tools and equipment after use with water. Once hardened, the product can only be removed manually or mechanically. Wash soiled hands and skin thoroughly in hot soapy water.
Final result
With Sika® Level-125, the floor is now properly levelled and will last longer!

