TIME: 1 HOUR
SKILL LEVEL: BEGINNER
ESTIMATED COST: $130
How to Make a Concrete Block Bench
A simple DIY project using SikaBond® Construction Adhesive to upgrade your entertainemnt space in your backyard!
PRO Select Products Used
Supplies & Tools
- Box Knife
- Masonry Brush
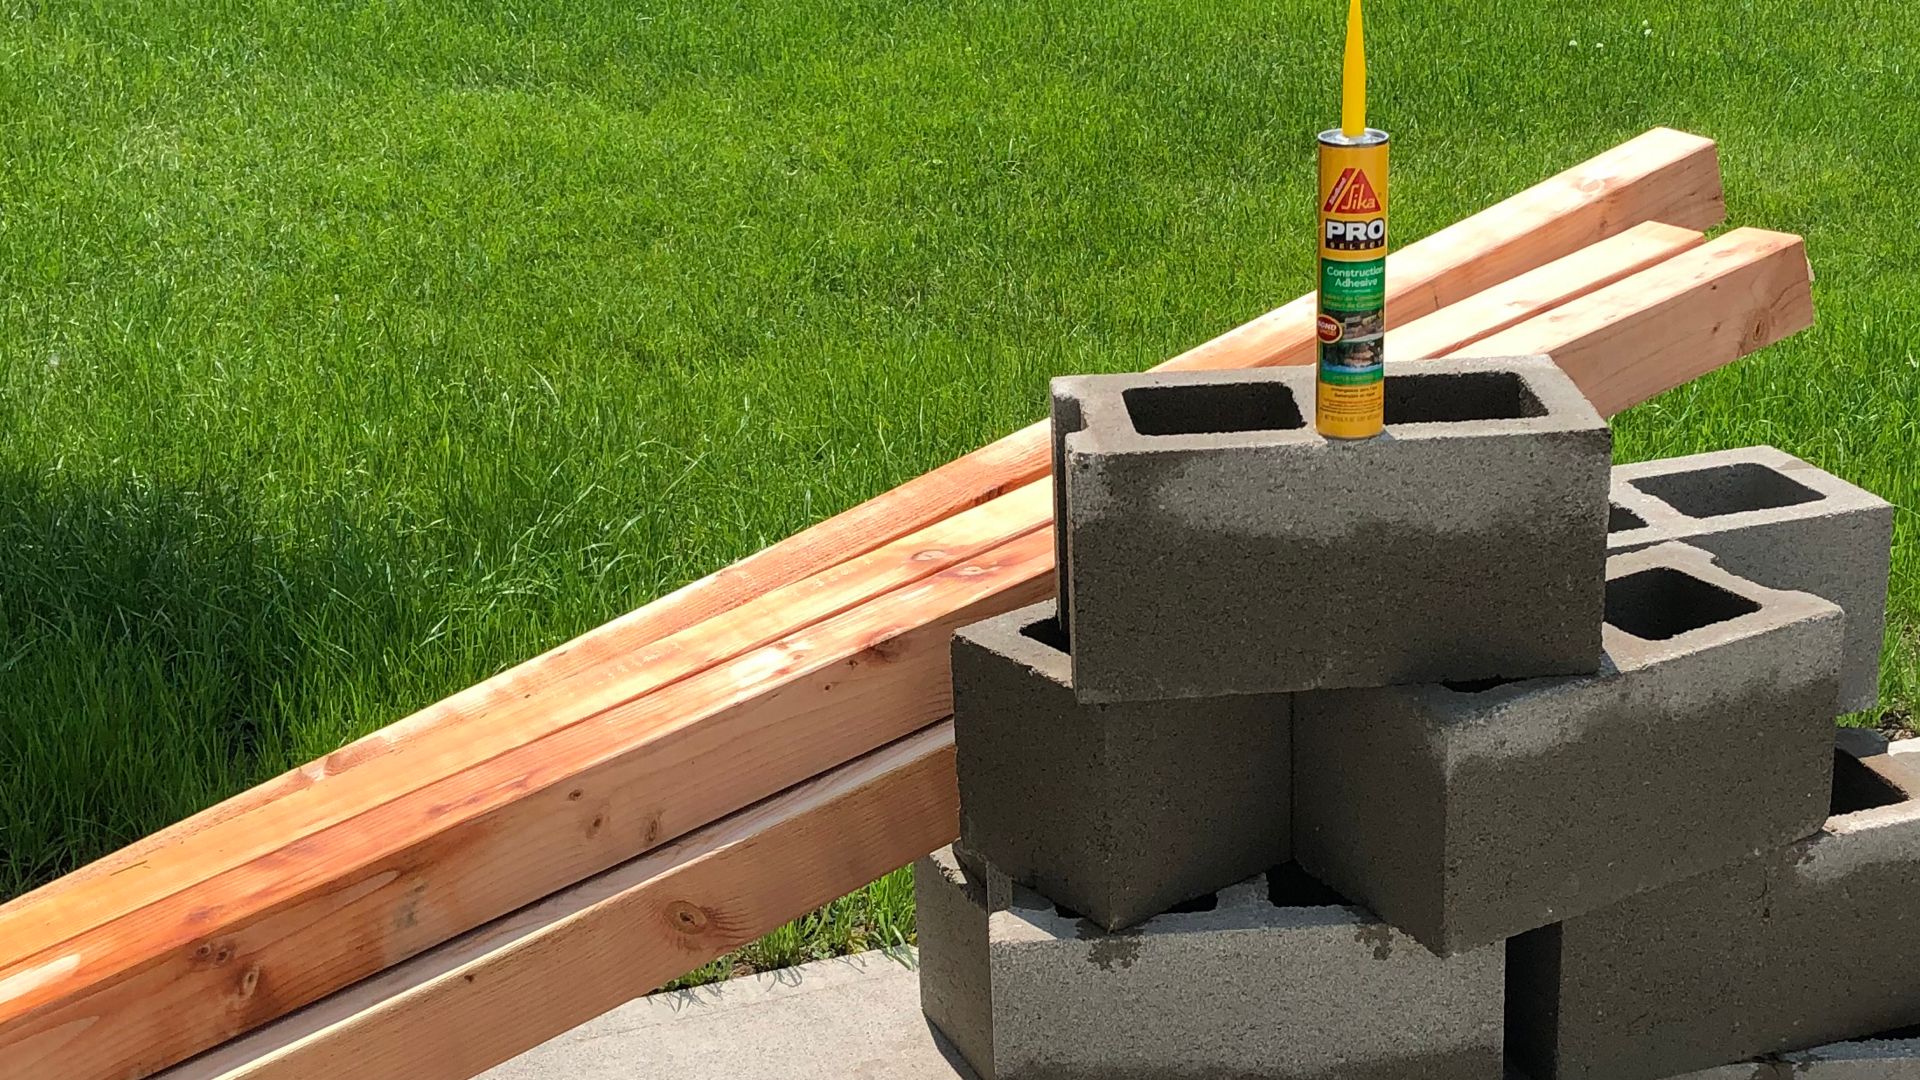
- (2) 10 oz Catridges SikaBond Construction Adhesive
- Caulk Gun
- (6) 4"x4"x8" Posts
- (14) Concrete Block
- (Optional) All Weather Stain & Sealer
Preparation
Using the masonry brush clean off any lose dirt/debris from the concrete block.
Step 1: Placing Initial Blocks
Place your first two concrete blocks on the ground to begin building your bench. Place a 10 oz cartridge of SikaBond Construction Adhesive into the caulk gun and cut tip using a box kinfe.
Step 2: Applying SikaBond® Construction Adhesive
Be sure to apply adhesive to the entire surface of the concrete block.
Step 3: Building Bench Arm
Place the next two concrete blocks to start building the arm of the bench.
Step 4: Building Seat Layer
Place the next two blocks on top of the side walls making sure the openings are parrell to the ground.
Step 5: Building The Back Rest
Apply SikaBond® Construction Adhesive and place on top of arm standing up making sure placement is flush with edges. Before building opposite side use a post to measure desired distance.
Step 6: Adding Posts
Feed each post through the openings of the block to cpmplete your bench. SikaBond Construction Adhesive will remain permanently elastic to allow for natural movement between the bonded surfaces. For additional protection we added one coat of all weather stain & sealer.

