THE BEST PRACTICES FOR REPOINTING
In order to ensure optimal results after your project, we recommend that you follow the following rules:
1. The old mortar must be removed to an equivalent depth of twice the thickness of the joint or until sound mortar is obtained – at least 20 mm (7/8 inch.).
2. Ensure that the bottom of the cavity joint has a square finish and not a U or V shaped finish.
3. Before repointing, make sure the joint contains no debris or dust.
4. Masonry should be moistened, but no water should remain stagnant at the bottom of the cavity.
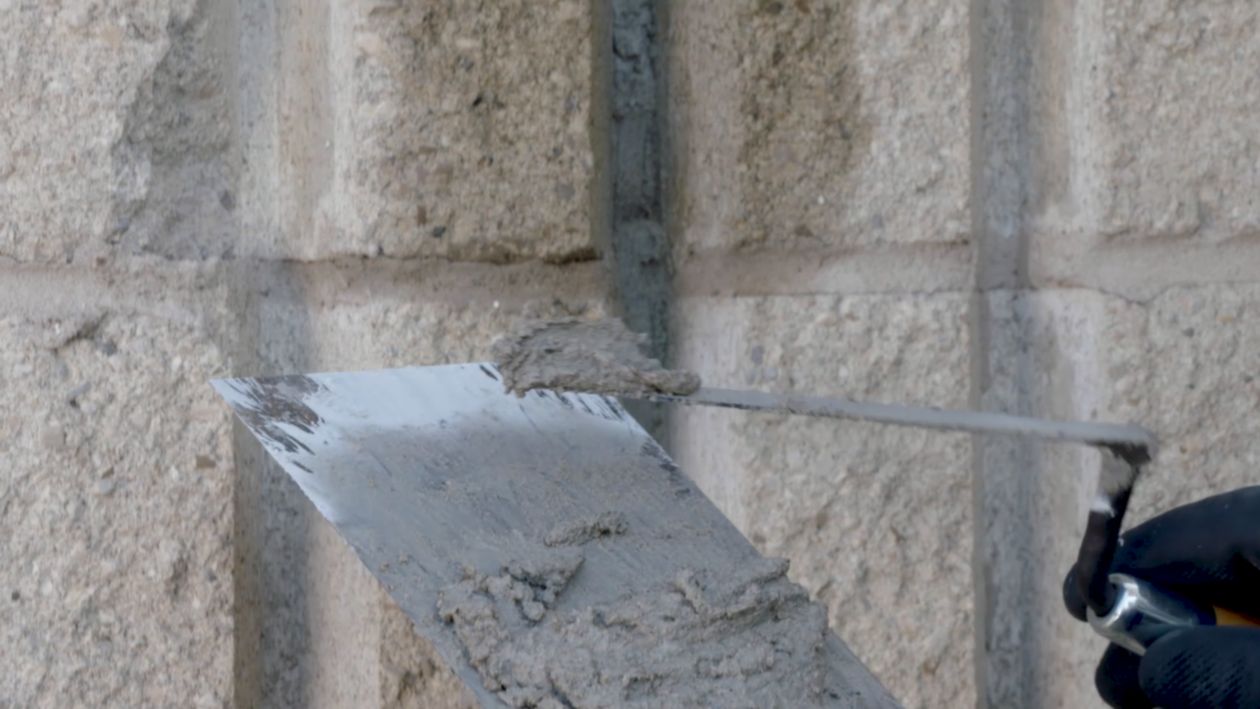
5. The new mortar must be installed in successive layers of ¼ inch (6 mm). Mortar is applied fresh on fresh.If the mortar had time to dry in between layers, it must be moistened again before resuming work.
6. When the mortar is strong enough to withstand thumb pressure but the fingerprint remains present on the surface, you can proceed with tooling the joint.
7. Once the joints are well compacted, it is generally necessary to open the mortar pores with a brush or a tool specially made to this end.
8. If the project requires only partial repointing, be sure to finish the joint similar to the original mortar.
9. Make sure to start the moist cure immediately after finishing the joint.
In order to avoid damaging the masonry units, it is necessary to supervise the use of mechanical tools for the hollowing out of the joints. The procedure for hollowing out the joints must be fully detailed in the specification documents.
It is very important to always erect a mock-up wall of approximately 1 meter by 1 meter before starting the work. This wall, which must be an integral part of the project, will serve as a reference throughout the work.

